Article – How to Make a 5,000-Year-Old Energy Bar

Perhaps 5,000 years ago this sort of thing was the pinnacle of food portability, but I suspect that with modern techniques, materials, and technologies we can come up with something better. However, when those things are lacking it’s nice to know the fallback position will work.

In Secrets of Polar Travel, explorer Robert Peary spends several pages waxing poetic about the merits of a ration he brought on his expeditions to the Arctic between 1886 and 1909. In addition to ranking it “first in importance” among his supplies, he genuinely enjoyed the food, writing that it was the only meal “a man can eat twice a day for three hundred and sixty-five days in a year and have the last mouthful taste as good as the first.”

Peary was talking about pemmican, a blend of rendered fat and powdered, dried meat that fueled exploration and expansion long before his attempts to reach the North Pole. Archaeological evidence suggests that as early as 2800 BC humans hunted the bison that roamed North America’s Great Plains and blended their meat, fat, and marrow into energy-dense patties with a serious shelf-life. A single pound of pemmican lasted for years and might’ve packed as many as 3,500 calories.

Food certainly does give energy, but I’m not sure if I’d call these ‘energy bars’ rather than ‘food bars’, anymore than beef jerky is ‘energy strips’.

It might be interesting to experiment with. Be kinda nice to make, essentially, some Purina People Chow.

Link – DIY Panzerfaust

Well, crap….there’s another project I’m going to have to pencil in some time for.

The niche market for legally registered disposable anti-tank weapons may soon experience a well overdue boom with the introduction of a historically accurate Panzerfaust 60 copy you can make at home. Jonathan Wild started the project last year which will eventually culminate in a book detailing how to build one yourself from scratch.

Capable of firing over 100 yards, the warhead (in this case is a practice dummy) uses a propelling charge of Goex cannon black powder housed in a cardboard tube attached to the rear of the fins. Like the original Panzerfaust design, initiation is provided by means of a primer (in this case commercial muzzleloading primers) fitted into an external nipple that is struck via the sheet metal trigger mechanism. The launching tube is simply a length of commercially available steel tube onto which the trigger mechanism is welded.

The potential seems…interesting.

Ammo Security VI – Economics of reloading

There’s not a lot of things I consider myself an expert on. But, one thing I genuinely do think of myself as an expert on is reloading ammunition. I’ve done it all from .22 Hornet to .50-140, using every brand of press, jacketed and lead bullets, cast my own bullets, reformed my own brass, etc, etc.

I am also a tightwad with a streak of money nerd. Is reloading cost effective? Well, when you reload the cost of your ammo goes down so you wind up shooting more…so, in that regard it’s mostly a wash. But, on terms of shooting the same amount of ammo, it’s a different story. What I mean is, if you buy a box of .300 Win. Mag and then you reload that box of .300 Win. Mag. one is going to be a buttload cheaper than the other. Cheap enough to make it worth it? Let’s find out.

Let’s go with one of the belted mags……300 Win, 7mm Rem, .338 Win, .257 Weatherby….whatever. They all track around $2-$4 a round. Let’s buy 20 pieces of new brass, 100 premium bullets, a brick of primers, and a pound of powder.

I’m just gonna run over to GunBroker and get some prices….

  • Federal .300 Win Mag 165 gr. Nosler Partition, 20 rounds for about $40
  • Nosler Partitions, .30 165 gr, 100 bullets is about $45
  • New brass from Winchester is about $30/50
  • And we’ll use a load of 70 grains of IMR 4350 (There are 7000 grains of powder per pound, so under “Qty” one pound would be ‘7000’)

Factory ammo is $2. We can reload it for $1.39. But, once we fire it off and re-use the brass our cost per round drops to $0.79.

What if you reload something really spendy like .338 Lapua.

  • Federal Premium 250 gr. Sierra MK 20 rounds for about $90
  • Hornady brass at $3 each
  • Sierra 250 MK at $40/50
  • 76 grains of powder

Factory ammo is $4.50. We can reload it for $4.16. But, once we fire it off and re-use the brass our cost per round drops to $1.16.

If you buy a good reloading kit, like RCBS RockChucker kit, thats about $400. You would have to reload 120 rounds of .338 Lapua for it to pay for itself. Or reload 329~ rounds of .300 Win Mag.

Seems like a good deal, right? It is…until you get into economies of scale. Federal cranks out a bazillion rounds of 5.56 every year for the military. As a result, they’ve got the whole thing dialed in…they’ve got their costs down, their equipment amortized, production streamlined…as a result they can make 5.56 so cheap that you almost don’t want to waste your time reloading. Let’s check out some 55 gr. FMJ Federal ammo:

  • Federal 820 rounds for about $350 (From Midway)
  • Hornady brass at $0.29 each
  • 55 gr. FMJ at $.0.13
  • 25 grains of powder

Admittedly, almost no one uses new commercial brass to load .223 since fired brass is available at virtually no cost. But, for consistency….

You’re at $0.56 per round for your first loading…thats actually more than what factory ammo costs. However, once you fire that off and reload it, you drop down by sixteen cents per round. Put another way, you paid Midway $350 but once you fire it off that ammo can be reloaded at around $227.

When you get into stuff like 9mm and .223 the savings really become negligible when you factor in your time and whatnot. However, when ammo isn’t available at any price, then the advantages become readily apparent.

If you want to play “what if”, I’ll give you a copy of the spreadsheet. Anything in green is a variable that you can tinker with. Crunch some numbers. You’ll see that if you’re a guy who shoots oddball calibers (Weatherby, Ultramag, Lapua, etc.) you can save some serious coin. Explore your options – what if you get a really good deal on powder? What if you use inexpensive cast bullets? What if you use cheap once-fired brass?

If you find this info useful….


Marlin surgery

Pistol caliber carbines (PCCs) are all the rage today. Why not? Yes, you lose ballistics performance but you gain streamlined logistics. Anyway, let’s recall that the original idea behind PCC’s was not to have a carbine that took the same mags as your Glock. No, the original idea was to have a carbine that took the same ammo as your Colt revolver. The genesis of the PCC goes back to the Colt Single Action and the iconic Win. ’73. A fella with a saddlebag full of .44-40 ammo could keep his rifle, pistol, and himself fed. Leverguns: the OG PCC.

I have a lovely Marlin 1894 in .357 and it’s a perfect companion to my GP-100’s. But…I wanted a little more horsepower. Time for a .44 Mag. And then I came across a nice Marlin in .44 Mag but it had one glaring little problem:

This … abberation… has no place on a rifle as otherwise magnificent as this old-style Marlin

A crossbolt safety on a hammered lever-action rifle is an affront to Crom, nature, and pre-litigious society. If you run around in the woods with a cocked hammer on your levergun you are, sir, a fool. It is no less and no more work to cock the hammer when ready to fire than it is to push an ugly, obtrusive crossbolt safety. This is why Marlins (and Winchesters) without the crossbolt safety bring more money than those that have them. So, you have an otherwise excellent, high-quality, Marlin rifle but it has the absurd crossbolt safety. Do you live with it? Slap an itty bitty o-ring on the ‘FIRE’ side of it to prevent accidentally setting it to SAFE? Or….do you….remove it.

Duh and/or hello…..you remove the worthless thing.

Several outfits offer replacement ‘plugs’ to get that stupid safety outta there. I went with this one which was suggested to me by fellow blogger Ryan. (How ya doin’, buddy!) It arrived today. Time for gun surgery.

First, know your enemy:

Know your exploded diagram as you know yourself and in a thousand disassemblies you will never be left with ‘extra’ parts. In this case, that v-groove is what keeps you from pushing the crossbolt completely through and out the other side of the receiver. There is a set screw, spring, and ball bearing that keeps it in place. Let’s get the stock off and find that set screw.

I think I can guess where to start looking. Under whatever crap that yellow stuff is, there lies our starting point. Let’s clean that crap out with a dental pick and get rolling.

Alright…back that thing out and be careful not to lose it. It’s tiny. There’s also a ball and spring in there. Get those too and don’t lose ’em. Once it’s out, push the crossbolt out the ‘SAFE’ side of the receiver (right side). You’ll be left a with a glaringly large hole in the side of your beautiful Marlin.

Take your replacement crossbolt and slide it in. You need to line up the little dent for the detent on the crossbolt with the hole for the set screw. Easiest way? Get crossbolt in place, look down set screwhole with bright flashlight, rotate crossbolt until detent lines up with hole. Firmly hold crossbolt in place and replace set screw tightly. Put stock back on gun and bask in the beauty:

And there you go. Not as pretty as if it had never had the stupid crossbolt safety, but miles better than still having it.

Hey, if you find this imformative or useful howabout kicking back a little something to yours truly?

Captain Video

It ain’t exactly the Eye Of Sauron, but…I replaced the video camera system at the house. I initially installed it around..mmm…seven or eight years ago. Was a lot of work, too. Lotsa time moving ladders and running wire. But, when it was done, it covered all angles of approach and a few others as well.

Years go by and technology does it’s thing….features go up, price goes down. The DVR on the system was acting hinky and I was losing data. So..time to replace. Ideally, I wanted a system that used the existing wires and plugs so I wouldn’t have to hang new wire. Easy enough. I spent about 30% less than what they system costs those many years ago, and the features are eye-popping. Much better resolution, a larger drive, I can playback several channels of video simultaneously, and I can even remotely activate an intense light to light up an area in question. I replaced a couple cameras with the new ones and the difference in image quality was staggering. My security footage no longer looks like the Zapruder film.

I have a UPS (uninterruptible power supply) that is usually meant for desktop computers, but it works quite nicely for the camera system. When the power goes down I can still keep an eye on things until I get the EU2000 going. Handy, that.

99.9% of the time, the cameras just pick up the normal comings and goings, Jehovah’s Witnesses knocking on the door, the UPS guy dropping of packages, etc. But, once in a while, something worthwhile gets recorded. I’ve got excellent footage of several car accidents, and one video of someone trying to break into my neighbors house.

What I really appreciate about it is that when the doorbell rings I can glance at the monitor an see who is at the door and, more importantly, who might sneaking around the back of the house while my attention is diverted to the front door. Forewarned is forearmed.


Minor mods

I am not one of those guys who believe , as far as guns are concerned, that just because you can add an accessory to it, you should. Youre a sovereign individual and can do whatever you want, but for me all an AR needs is a sling, light, and good sights/scope. (Maybe a stock-mounted spare mag, but thats iffy.)

However, since I’m putting a sling on the gun I want to give myself a couple options. As of late I’ve been pleased with Magpuls two-point-to-one-point sling. Since it uses a QD attachment method, I needed a to replace the plate that goes between the castle nut and the receiver. Fortunately, Magpul makes pretty much everything I need and I put in one of their sling attachment points. Seems to work well.

I had a couple cheap castle nut wrenches for the AR laying around, but a few years back I bought a Hammerhead Rifle-Tool which is sort of an AR ‘multitool’. It was perfect for removing the castle nut and replacing it. Highly, highly recommend. Not cheap, and I’m sure someone will say “My $5.99 gun show Made In China wrench works just fine!”. May be. But I had he money, it’s made in Oregon, has lotsa useful features, and seemed pretty stout.

The point of this post, though, is that if you’re going to keep guns around, and you plan on holding onto them for a long time, it isn’t enough that you keep some spare parts around…you need the tools. And if you need tools to last you the rest of your life you don’t cheap out. I actually have a 40mm ammo can in storage full of AR parts, tools, technical manuals, cleaning gear, etc. I call it ‘support gear’. There are some ‘armorers’ packages available for the AR but too many of them are made in China or have a lot of unnecessary or useless tools in them at the expense of more useful/better tools. Much like no pre-packaged survival kit is a good one, you’re better off parting your own kit together. And, if you decide to do so (which you really should), I recommend that Hammerhead tool.

Lighting

Last week I plugged in the 12v desk lamp into the rehabbed Goal 0 battery to see how long it would run. Well, today is about a week since then and the little battery meter says it’s down to approximately 40% charge.

So, seven days at 24 hour usage means I could run this thing for six hours every night for a month. Or eight hours a night for three weeks. Thats a not inconsiderable amount of time to have ‘normal’ lighting.

Sometimes it’s hard to wrap your head around something like an economic collapse, a gigantic earthquake, a global pandemic, etc, but pretty much everyone can relate to a blackout or loss of electricity because we’ve all experienced it before at some point in our lives.  A power failure is probably the ‘disaster’ that the majority of people can relate to. Not everyone thinks keeping a case of 5.56 and years worth of freeze drieds is a good idea, but pretty much everyone has a flashlight at home.

Anyway, as I mentioned in the previous post on the subject, I like keeping a couple battery-in-a-box type of items on hand so that I can just set up a light source and pretty much not have to worry about it. I’ve yet to experience the outage that lasts more than a day and at the moment I have the resources to not have to sit in the dark for an entire month.

Gotta say, man….Ii remember when LED lighting started to be a thing. I recall thinking that if it delivered the lighting they promised at the low-usage rates they calculated it would revolutionize emergency lighting and low-power lighting systems for remote locations. Apparently it lived up to the hype.

Mylar after two years of exposure

A few years back I picked up a heat-sealer and a supply of heavy-duty mylar pouches. The goal was to use them to store small first aid items in a protective package that would be impervious to dirt, moisture, etc. (Links are still good in that post, so if you want your own sealer and bags go hit those links.)

SO, I went through my extensive piles of first aid supplies and pulled out the basics, loaded them into a mylar bag, and sealed them up. This was, ostensibly, for me to basically throw under the seat in the vehicle.

At some point, I needed to clean out the accumulated detritus in the vehicle and loaded all the loose items that were kicking around (water bottles, pens, loose ammo, maps, e-tool, etc.) into a milk crate and kept that milk crate in the vehicle. One day, I needed to maximize the space in the vehicle so I pulled out the milk crate and tucked it away in a corner of the yard while I did what needed doing. And then forgot about it. That was two years ago.

So, I was straightening things up and found this mylar pouch of first aid supplies that had been sitting out in the elements – snow, rain,sun, heat, cold – for two years…completely unprotected. Seems like a good opportunity to see how it held up.

Two years in the sun, rain, snow, heat, and cold of Western Montana. Dusty, but otherwise undamaged.

Tear it open and take a look inside. Contents appear to be undamaged and just fine.

Everything appears as good as it was when I packed it up two years prior.

Unfortunately, I loaned my heat sealer to someone last year and despite my occasional requests for it back they’ve not returned it, so unless they get a sudden dose of responsibility I’m probably going to have to order another one. I still have a goodly supply of pouches and the evidence seems to show that they are very good at protecting important items from the elements. In addition to the obvious things like a bit of first aid supplies, small objects that need to stay clean and dry would be suitable candidates….small electronics like radios and such spring to mind.

I rather like the convenience of having several of these pouches sitting in a bin in storage and I can just grab one and throw it in a pack or bag if I’m going somewhere. And when you buy the stuff in bulk like I do, it’s ridiculously cheap to put one of these together. Cheap enough to the point that I can just give them away to friends and like minded individuals, keep on e in every bag, stash a bunch at some offsite location, etc. Of course, if you’re willing to pop for the larger size pouches you can put together some extensive kits.

By the by, these pouches are the resealable kind…so once open, the contents can be put back inside and the bag ‘zipped’ closed. But if you really wanna go the suspender-n-belt route you could easily stuff a ziploc bag in there to perform the same function.

Goal 0 Extreme 350

I have a couple ‘battery in a box’ setups around the house. I have an ancient (pre-Y2K) ConSci powerpack that has, rather unbelievably, held up for the last twenty years. And, as of late, I picked up a battery jumpbox that ran an LED desk lamp for a week. That told me that as far as emergency lighting needs go: a) anything other than LED’s is a remarkably foolish choice and b) assuming six hours of use per night, I can light the house up for a month with a lamp and a charged battery. So, the logical conclusion was to get a couple lamps,a couple batteries, and keep them charged. This I have done.

Now, the emergency lights I use are from Goal 0. I have fabbed up my own in the past, and I’ll probably do that again, but Goal 0 had some nice, simple, daisy chainable lights. Goal 0 also makes various battery packs. I was gifted a dead one last week, along with a Goal 0 panel to charge it. And thus begins our tale.

So I was generously given a Goal Zero Extreme 350…a discontinued batterybox type of product. It featured Anderson power pole connectors, charging regulator, charging input, fuses, and a battery meter. Really, you could put together the exact same thing for less than what Goal 0 charges but some of us are not terribly handy with tools and prefer an out-of-the-box turnkey solution.

Anyway, this thing had sat in storage and was deader than Hillary Clintons presidential chances. I let it sit on the supplied charger for a couple days and got no joy at all. Clearly the long period of non-use, and slow discharge (because the battery meter is on all the time), led to the sealed lead-acid battery becoming unrecoverable.

But..I liked the other features. Perhaps Goal 0 has a replacement for this battery? Nope. And the replacement batteries they do sell are $$$. So….off to the itnernet. Which is where I found this – directions on DIYing a replacement battery off Amazon. Since my basis was $0 in this, I didn’t mind dropping the coin for a new AGM battery to replace the dead SLA battery. So, ran off to Amazon and ordered up the suggested battery which was an exact dimensional fit, gives me the advantage of AGM, and was an extra 5 amp/hour. Followed the instructions and – voila – brought it back to life. I’ve got my desk lamp hooked up to it to see how long it’ll run on a full charge, and then to see how long it takes to charge it using the panel. I’e no doubt this thing willrun the lamp for at least three or four days…and probably longer. It’ll give me one more self-contained lighting unit to distribute where needed next time the power goes out. And the price was right.

Adventures in food storage

You guys remember a few months back I posted about a guy who was crackin’ open some decades-old Mountain House and having himself a little taste test experience? Well, he’s at it again.

He’s got himself one of those buckets that claims to have X amount of days worth of food in it. Read it at his place…….

I’ve been ‘into’ food storage for twenty five years….and I’ve done tons of research on the subject, bought and tried all sortsa food, and created darn near Montana’s largest privately owned Safeway in my basement…..so I feel fairly qualified to say that this will end badly.

Here’s the thing: these types of kits are usually calorie-deficient, somewhat monotonous, and often not terribly appetizing. It is (in my opinion) a panacea to people who want to be prepared but don’t want to have a lifestyle – theyre for someone who just wants to make a quick online purchase, stuff it in the garage, and feel like they’re ready for the crash.

A guy I know was just telling me that he was thinking about purchasing such a kit ‘just in case’. I’m trying to steer him towards a more practical, albeit more expensive, route using regular off-the-shelf stuff from the supermarket.

You know who has this figured out? The Mormons. (No surprise, right?) These guys literally have graduate-level research labs working on just this sort of thing. And having done the research, they actually package and make available these storage-suitable foods. Go read their list of what you can get from them.  And they sell it cheap enough that even the most niggardly ‘poverty prepper’ can afford it.

I have a lot of freeze dried Mountain House here for my future needs. But it’s not my primary ‘go-to’ food in a crisis. What is? My stash of ‘everyday’ food. The pasta, rice, canned tomatoes, spices, cooking oil, canned and frozen meat, flour, cornmeal, canned and jarred vegetables, oatmeal, hash browns, etc. that I have in large quantity. All things I use everyday and all  things that store well.

But, to be fair, a ‘bucket’ as mentioned at the opening of this post, makes it’s strength on the portability and convenience. In theory, you can run out the door with it and know you’re not gonna starve for a month. Perhaps. I’ve taken it a step further and just put together my own ‘bucket’ for those moments when you need to run out the door…specifically, a couple 15-gallon ‘blue barrels’ loaded with freeze drieds.

Reviewing what I have in storage, post-apocalyptic meal planning would look something like this: pancakes, hash browns, scrambled eggs, biscuits, pork chops, strawberries, orange drink, milk, and oatmeal. And thats just breakfast. Lunch and dinner would be equally as broad, equally as long-term, and equally as tasty.

Just write a list of everything you’ve eaten in the last week and figure out if you could recreate it using foods that store well in the long-term. Then go buy those foods. Then when the wheels fly off civilization you’ll be eating pretty much just as well as you were beforehand. Heck, considering the erratic and horrible diet I live on now, I’ll actually eat better after the apocalypse.

My long winded point, though, is this – before you get lured into these sorts of ‘bucket kits’ do some research on calories, taste, and texture, and then see if you can’t put together something on your own. When the apocalypse hits, I have no intention of eating 3/4 of a cup of cheesey broccoli soup every lunchtime for thirty days. Given the stress and physical strain that the end of the world will put you under, I think you’re going to want more ‘stick to your ribs’ fare.

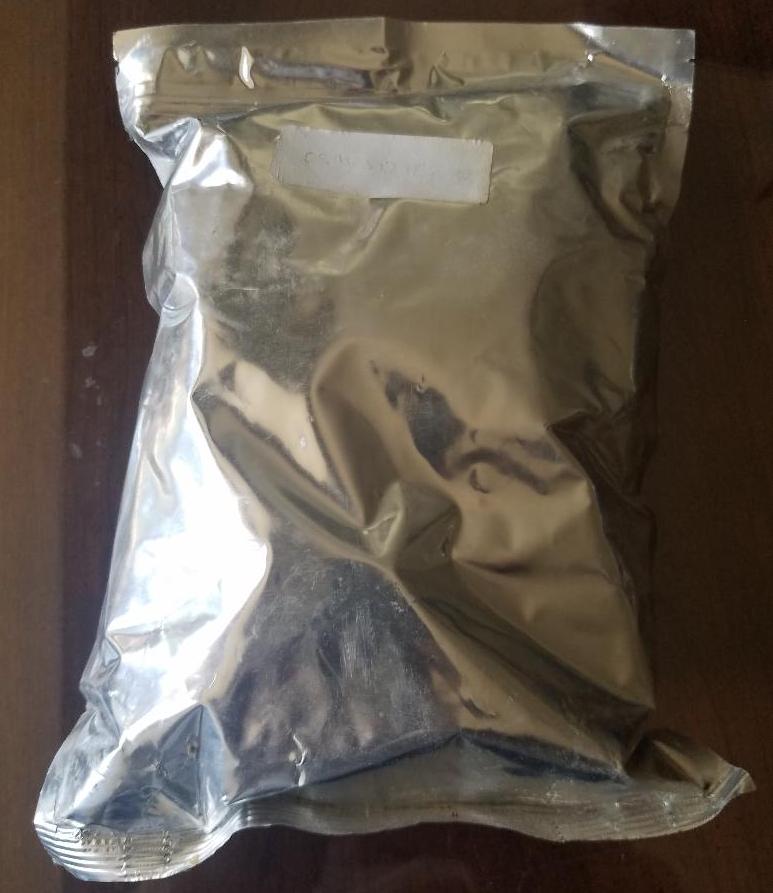
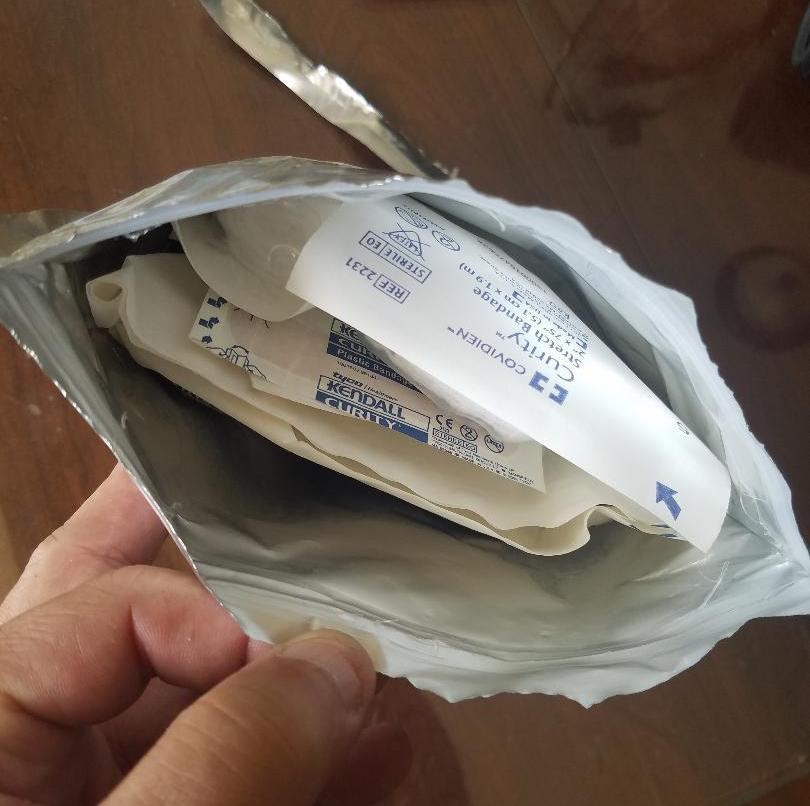
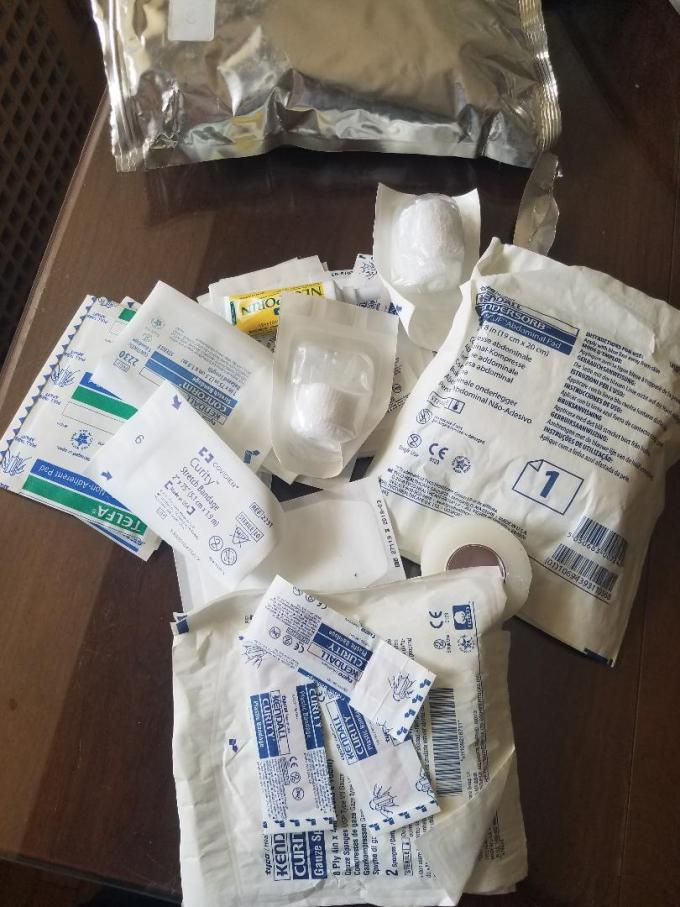
Conclusion: ‘Food buckets’, like first-aid kits, are better for your needs when you assemble your own.